
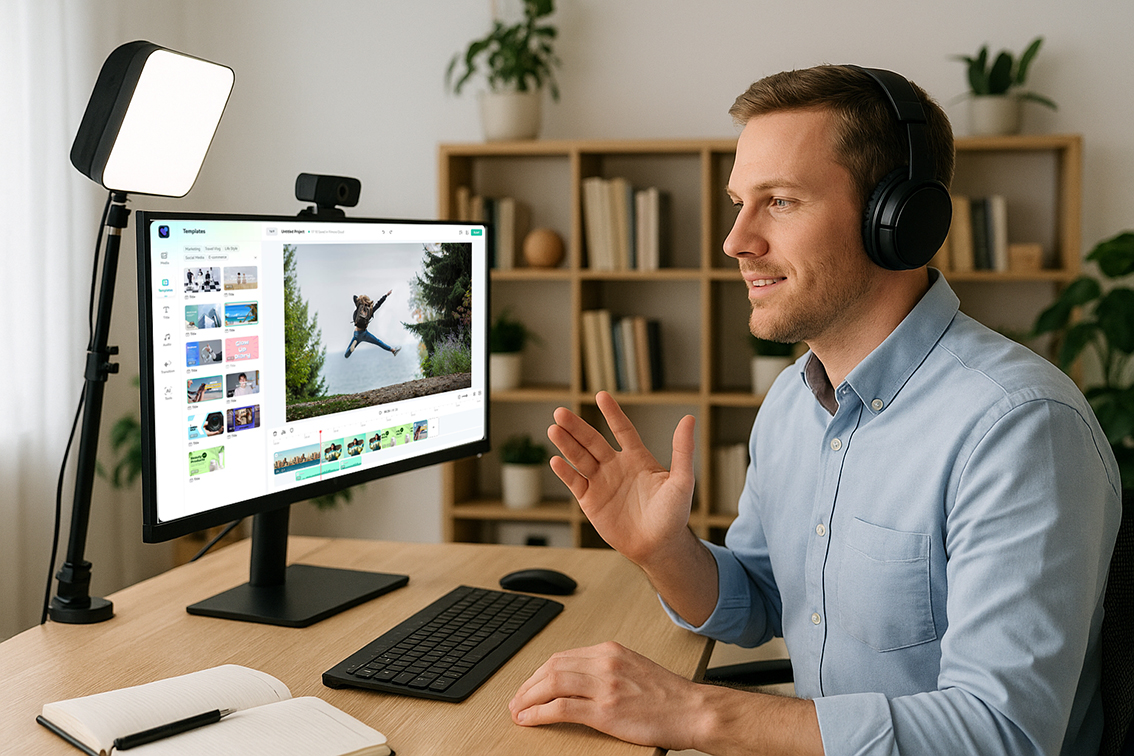
If you teach languages today—online, in a classroom, or in a hybrid setting—video is one of your most effective allies. It makes abstract grammar visible, gives pronunciation a face and a mouth, and transports your learners into real contexts. The good news: you don’t need to be “techy” to create engaging videos. With a clear plan and a friendly editor, you can produce short, meaningful clips that boost understanding and motivation.
This guide walks you through a practical, teacher-friendly workflow you can use immediately. It’s written for language teachers, but the same principles work for any subject.
Why video works for language learning
- Comprehensible input: Images + sound + text help learners understand new language without long explanations.
- Repetition without boredom: Rewatching a 1-5 minute clip feels natural, not tedious.
- Focus and pacing: You can slow down speech, add captions, highlight key words, and pause at exactly the right moment.
- Authenticity: Short clips from daily life (your screen, your phone, your classroom) feel real and memorable.
Plan first, edit faster (2–5 minutes of planning saves you 20 in editing)
- Define one micro-goal: “Learners will recognize and use 5 food items,” or “Students will hear /ɪ/ vs /iː/ in minimal pairs.”
- Choose a format (pick one):
- Explainer (you on camera or voice-over + slides)
- Vocabulary capsule (images + words + short examples)
- Pronunciation drill (close-ups of mouth, waveforms optional, clear captions)
- Dialogue breakdown (a short scene split into beats)
- Screen tutorial (record your screen to show a website or activity)
- Storyboard in three beats: Hook → Core content → Quick practice / call-to-action.
- Gather assets: a few images or short B-roll clips, background music (very soft), and your script/notes.
Editing essentials you’ll actually use
You can ignore most “pro” features. For 90% of classroom videos, you need just these:
- Trim & split: Cut out pauses and “ums.” Keep shots tight.
- Arrange on a timeline: Put clips in order, add short titles, and center important text.
- Captions/subtitles: Always add them. Learners rely on them for decoding and spelling.
- On-screen text: Show the target phrase exactly as you say it. Use large, clean fonts.
- B-roll & images: Drop a quick visual when introducing a word (“avocado” appears as you say it).
- Transitions: Keep them simple (cut or very short dissolve).
- Audio levels: Voice should be clearly above music. If in doubt, remove music.
Tip: Aim for 60–120 seconds for a micro-lesson. Short, purposeful, repeatable.
Free tools to start
If you want a browser-based editor that’s approachable for teachers and runs on most computers without installs, consider using FlexClip for quick lesson videos, captions, screen recordings, and templates. It has a free plan, enough to start and get used to this.
What to look for in a beginner-friendly editor (and what FlexClip offers):
- Works in your browser, so no heavy software to install.
- Simple timeline: drag, drop, trim, and add text.
- Templates for intros, lower-third titles, and end screens.
- Built-in screen recorder for tutorials.
- Captioning tools to add or adjust subtitles quickly.
- A stock library for safe, classroom-friendly visuals.
Use your own photos/video when you can. If you need extras, choose royalty-free libraries and check usage terms. For example:
-
- YouTube Audio Library: https://www.youtube.com/audiolibrary
- Pexels Videos: https://www.pexels.com/videos/
Keep music very soft or skip it for drill videos; clarity beats ambiance.
Five classroom-ready video recipes (copy, adapt, repeat)
- Vocabulary Capsule (90 seconds)
- Hook (10s): “Today: 5 café words you’ll use this weekend.”
- Core (60s): For each word: image → you say it → caption appears → 1 example.
- Practice (20s): Quick quiz: show the image; pause; reveal the word.
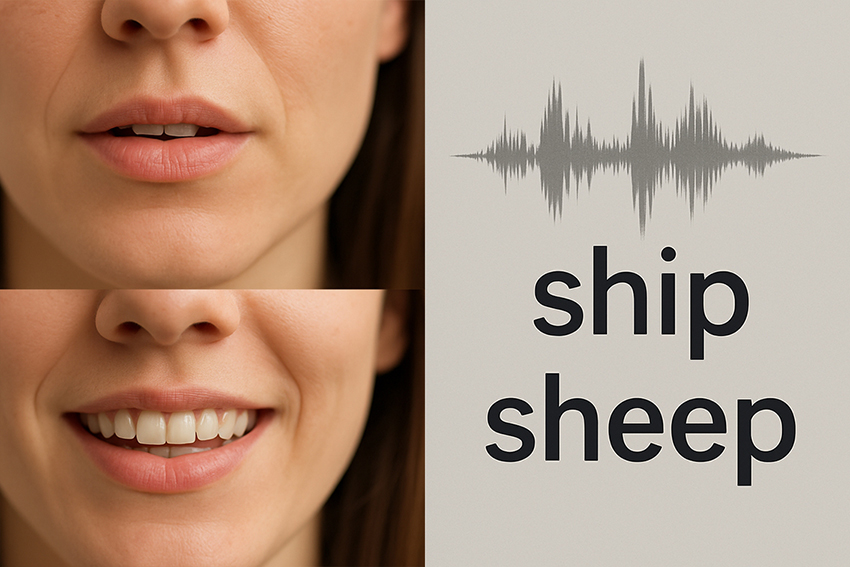
- Pronunciation Mini-Drill (75 seconds)
- Hook: “Can you hear the difference: ship vs sheep?”
- Core: Three minimal pairs, each with mouth close-up or clear on-screen text.
- Practice: Students repeat after you, then choose A/B on screen with a pause.
- Dialogue Breakdown (2 minutes)
- Hook: 10–12 second natural exchange (greeting at a shop).
- Core: Replay line by line with captions; highlight chunks (“Could I get…?”).
- Practice: Shadowing: 2 lines at natural speed, then slower.
- Grammar in a Glance (90 seconds)
- Hook: “Past simple for finished actions—3 examples in 15 seconds.”
- Core: Show three mini-scenes and captions; underline verb forms.
- Practice: “Say your own last-week activity in 6 words.”
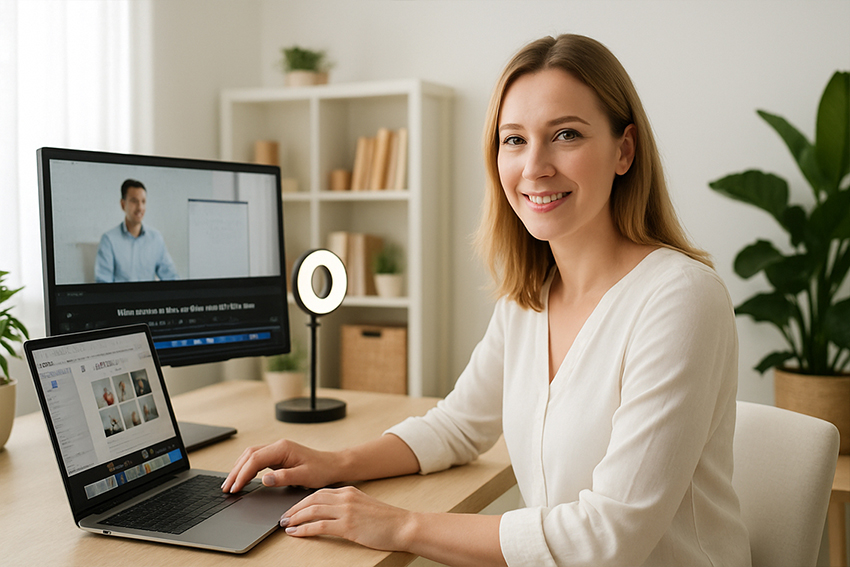
- Screen Tutorial (under 2 minutes)
- Hook: “How to use an online dictionary well (collocations in 60 seconds).”
- Core: Screen record: search word → check examples → note collocation.
- Practice: “Look up make vs do. Write 3 collocations.”

Accessibility & inclusion (your learners will thank you)
- Always add captions (even for native-speaker classes).
- High contrast: dark text on light background (or vice versa).
- Readable fonts: Sans-serif, large size, few words per line.
- Pacing: Leave micro-pauses after key phrases; use on-screen prompts (“Pause and repeat”).
- Clear audio: Record in a quiet room; keep mic 15–20 cm from your mouth; turn music down.
Exporting & sharing without headaches
- Resolution: 1080p is ideal; 720p is fine for messaging apps.
- Aspect ratio:
- 16:9 for projectors/YouTube/LMS
- 9:16 for phone-first shorts
- 1:1 for Instagram feed or square embeds
- File size: Shorter videos load faster and get watched more. Trim bravely.
- Thumbnails: Add a still with a big, clear title (“5 Café Words”).
- Distribution: Upload to your LMS, share a private link, or embed in your blog post with a one-sentence task (“Watch, then write 2 examples in the comments”).
A teacher’s starter checklist
- One learning goal, one video.
- 60–120 seconds runtime.
- Captions on every clip.
- Big, clear on-screen text for target language.
- Clean audio; music (if any) very low.
- A quick learner task at the end.
Final thought
Your first videos won’t be perfect—that’s fine. What matters is usefulness: clear language, visible text, steady pacing, and a simple task at the end. Start small, repeat what works, and build a library of micro-lessons your students can revisit anytime.


